
How to use the PlasticTom Lip Balm Filling Trays
The photos in this tutorial were taken with prototypes of the lip balm filling trays. Your lip balm filling trays will not be this white color.
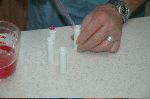
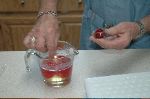
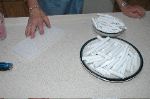
Filling lip balm tubes by hand is slow and tedious. |
Filling lip balm tubes by hand can also be messy. |
Three well filled, but messy, lip balm tubes. |
Instead of filling one at a time, how about filling 50 at a time? |
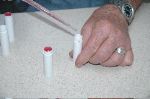
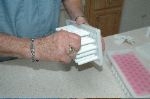
Insert the tubes into the backside of the lip balm filling tray. |
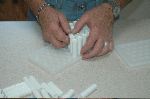
You may find it easier to place the lip balm filling tray on the table and press the tubes in with your thumbs. |
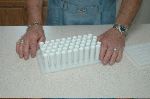
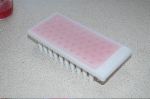
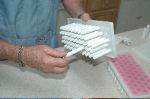
The tray in now fully loaded with lip balm tubes. |
Turn the lip balm filling tray upright and let it stand on the lip balm tubes. |
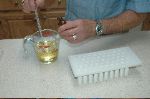
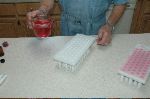
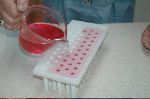
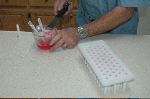
Prepare your lip balm mixture with flavor. |
You can also add color. |
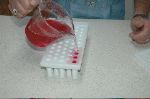
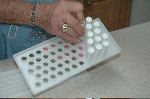
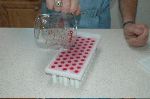
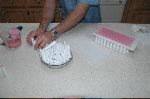
Once your lip balm mixture is ready, pour into each of the tubes in your tray. |
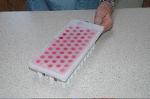
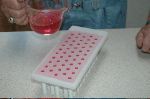
The lip balm filling tray captures the excess lip balm mixture. |
Continue filling each tube. |
Don't worry about uneven tops. It can be fixed. |
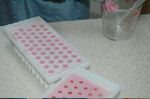
Having more than one tray allows you to continue to fill while other trays are cooling. This is a slim style lip balm tube tray. |
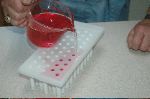
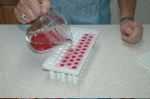
Pour your lip balm mixture into each tube. |
By pouring directly into each tube you minimize the possiblity of air pockets in the tube. |
Once the tray is filled, set it aside to cool. (Do not place into the freezer. You can cause your lip balm to fractionate.) |
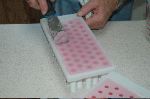
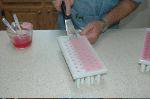
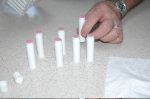
Once the lip balm has solidified you can scrape off the excess with a putty knife or other such tool. |
Scrape off the excess and save to remelt. |
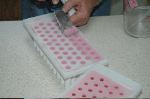
You may need to try a couple of different tools to find the one you like best. |
If the surface is uneven or rough, you can repour the top. |
Repouring the top can be done by flooding the top of the lip balm filling tray. |
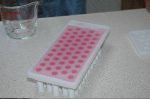
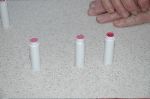
This looks much more even. |
Here you can see the indentation in the lip balm surface as the mixture shrinks down into the tubes. |
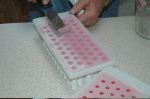
Once the lip balm has cooled, scrape off the excess. |
Tops are cleaned off and excess has been saved for the next batch. |
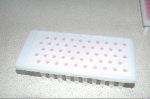
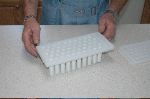
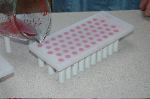
A finished tray ready to unload. |
Remove from the tray by pulling straight out with a twisting motion. |
Clean and ready to cap. |
Fifty lip balm tubes filled and capped in a fraction of the time to fill by hand. |
This shows the cap of lip balm that is on the top of the tube. |
Another fifty lip balm tubes filled, capped and ready to label. The lip balm filling tray is ready to be filled again for more of the same batch, or it can go into the dishwasher to be cleaned. |
© 2010 PlasticTom.com, All Rights Reserved